5576b6271ecc4.jpg)
Ideas creativas
Felted Pixies with long Knitted Tube Socks
#v13156
The felt pixies are decorated with embroidery, sewn together and filled with stuffing and plastic pellets. A beard from raw silk, a wooden bead for the nose and knitted tube for legs with socks and leg warmers. Attach wooden painted clogs.
#v13156
Cómo hacerlo

1. The pdf files contain templates for two different sizes of Pixies. Draw the hat onto a piece of red felt and the body onto a piece of grey felt. Cut out.

2. Cut notches in the hat for tassels.
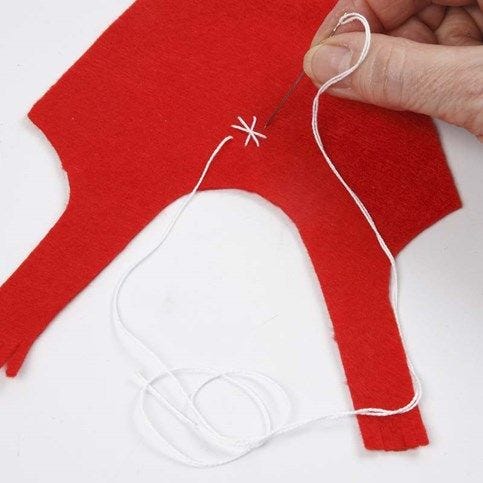
3. Embroider an ice crystal in the middle of the front of the hat using white cotton yarn.
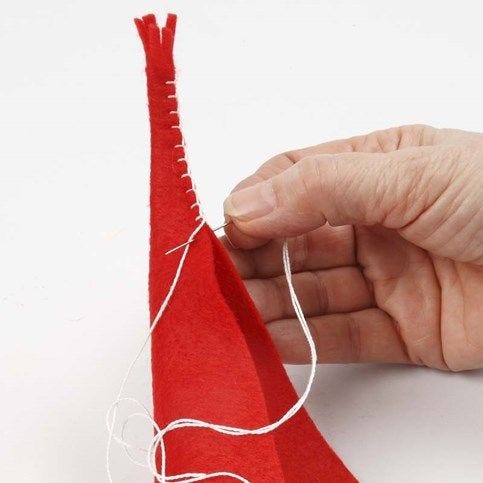
4. Fold the hat and sew it together with buttonhole stitches. NB! Not the opening of the hat.
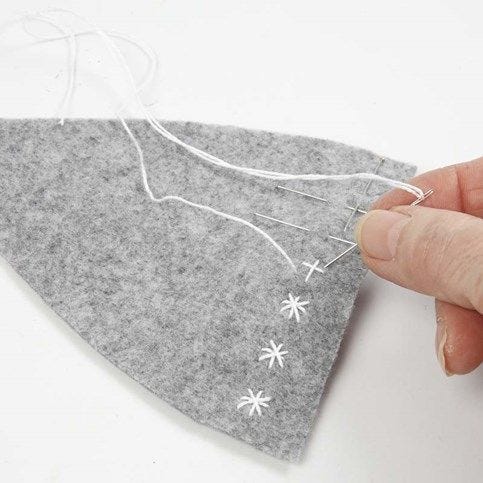
5. Embroider a row of ice crystal onto the two grey pieces of felt which form the actual Pixie body.
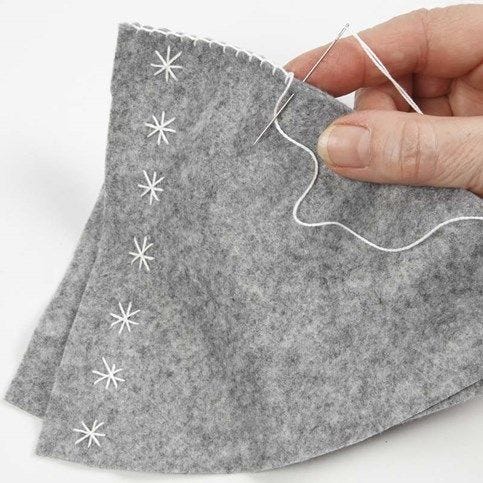
6. Sew the sides of the two pieces of grey felt together along the edges using buttonhole stitches – not a the bottom though.
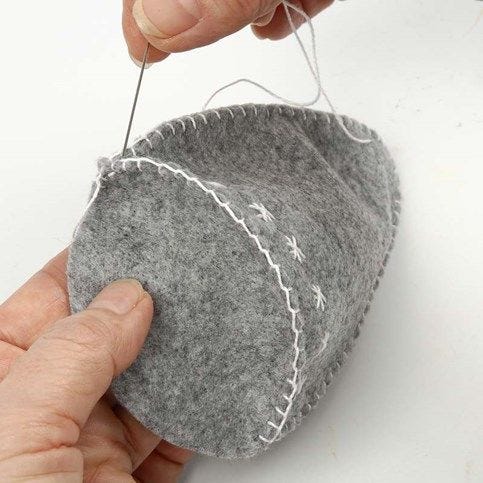
7. Sew the piece of grey felt - which forms the bottom part of the Pixie – onto one of the pieces of grey felt (which you have just sewn together – see paragraph 6).
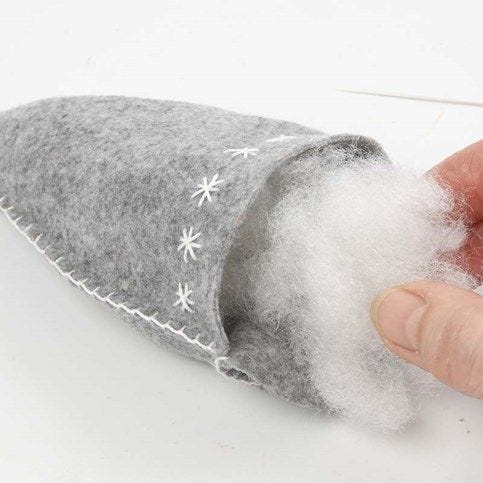
8. Fill the body with polyester stuffing.
9. Cut the long socks/legs from 15mm knitted tube. Cut two 17cm long pieces of knitted tube for the large pixie and cut two 14cm long piece of knitted tube for the small pixie. Tie a knot in one end of each piece of knitted tube and fill it with plastic pellets. NB! The legs should be able to dangle, so do not fill them with too many plastic pellets.
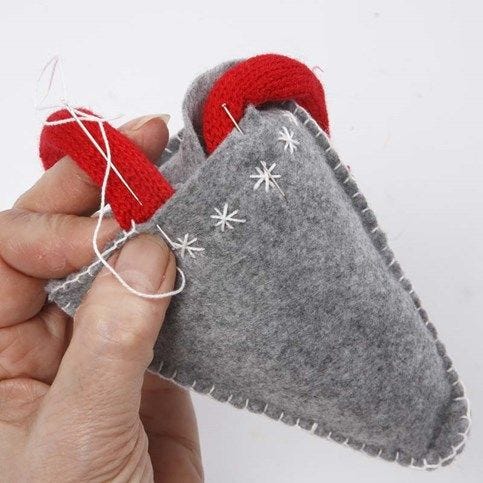
10. Attach the legs to the body with pins where the bottom part has not yet been sewn on. Sew the legs onto the body at the same time as sewing the bottom part on (in one and the same process). Leave a small opening for adding extra stuffing.
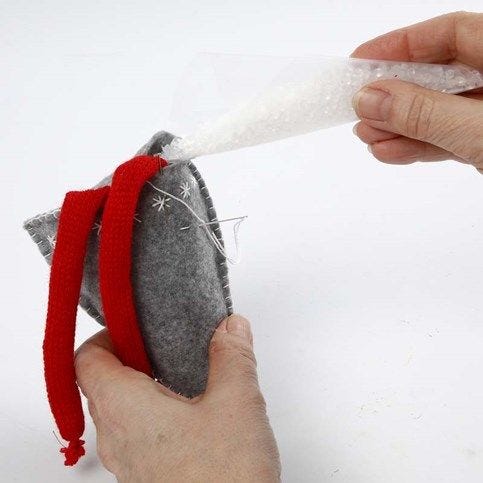
11. Now fill the body with plastic pellets and sew the opening together with buttonhole stitches.
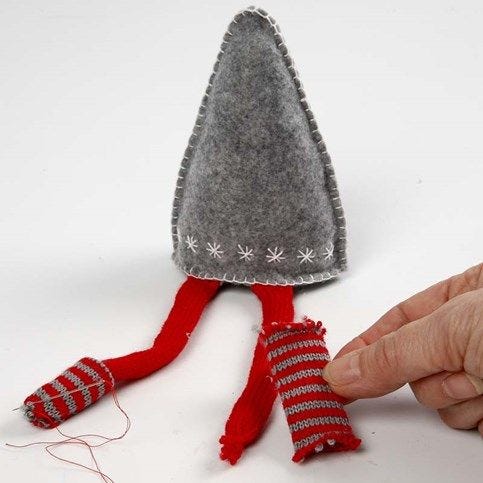
12. Cut leg warmers from 22mm knitted tube. Cut two 7cm long pieces for the large pixie and two 6cm long pieces for the small pixie. Fold the edge inwards and pull the leg warmers onto the long red socks/legs and sew the ends of the leg warmers together with tacking stitches.
.jpg)
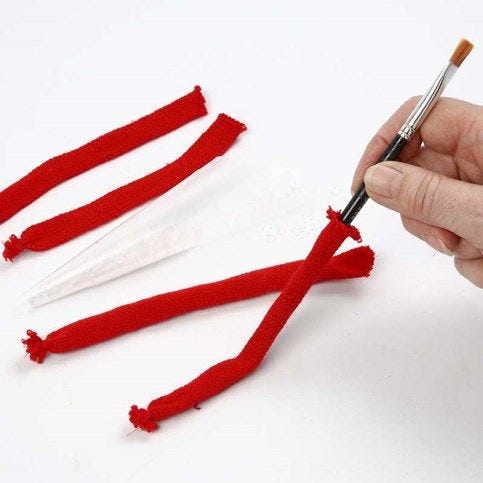
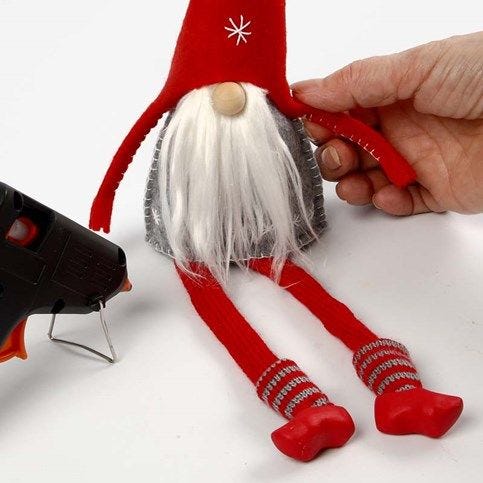
13. Paint the wooden clogs with red Plus Color Craft paint.
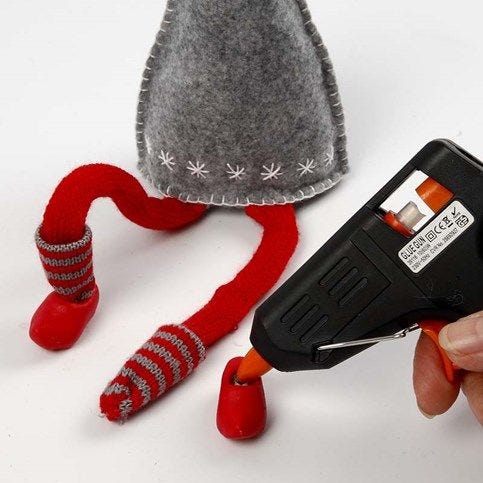
14. Glue the wooden clogs onto the legs using a glue gun.
.jpg)
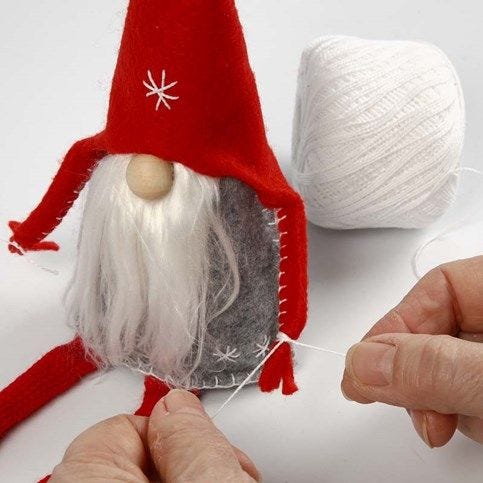
15. Make the beard from tufts of raw silk which are torn, making the ends look split and natural. At the other end gather the silk into a bundle, trim and sew it together – several times back and forth.
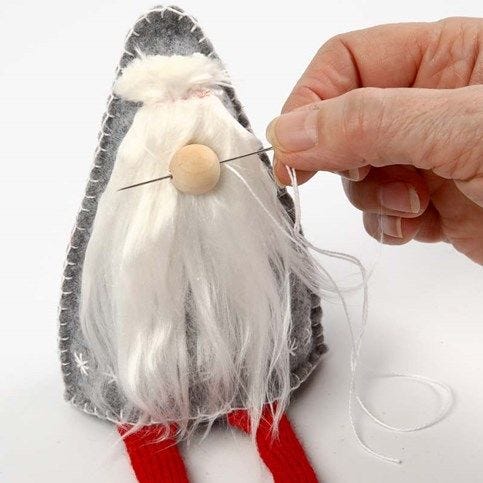
16. Sew the beard bundle onto the felt body with a needle and thread. NB! Make sure to position the beard in a way that the hat will cover the seam. Also sew on a wooden bead for the nose.
17. Glue on the pixie hat using a blob of glue on both sides. Fold the edge inwards approx. 2-3mm.
18. Tie a piece of white cotton yarn onto the three places on the hat with notches cut for tassels.


También vete a explorar
Otros también han mirado
{{ getVariationsCountLabel() }}
{{ getName() }}
{{ getDescription() }}
#{{ getSku() }}
hacer una idea a partir de {{ getPriceFormatted() }}