Ideas creativas
Vivi Gade Topple Pixies
#v11132
Our very own, new custom-designed acrylic felt from Vivi Gade Design is cut and sewn using simple patterns to create beautiful, elegant Christmas decorations. Achieve a beautiful effect by combining the various prints, enhancing the Christmas spirit.
#v11132
Cómo hacerlo
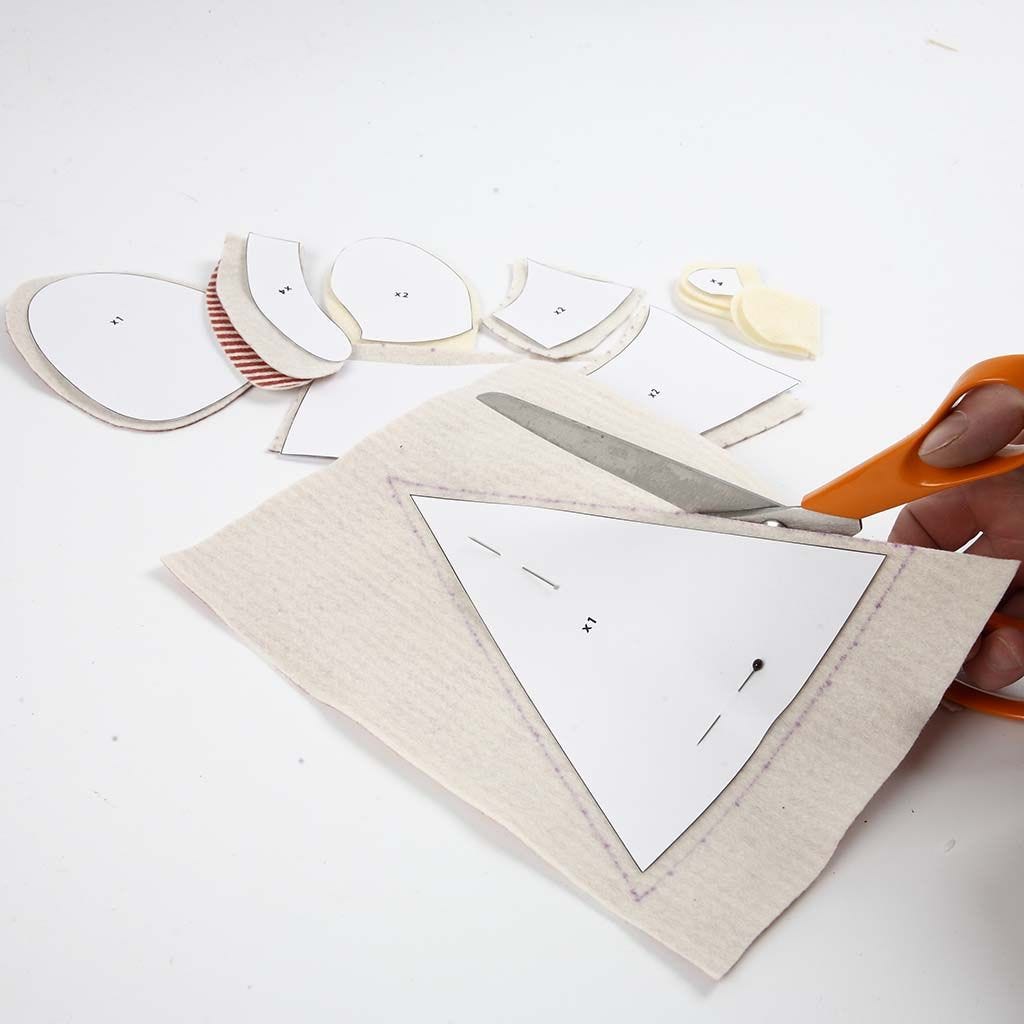
1 Cut out the fabric using the templates.

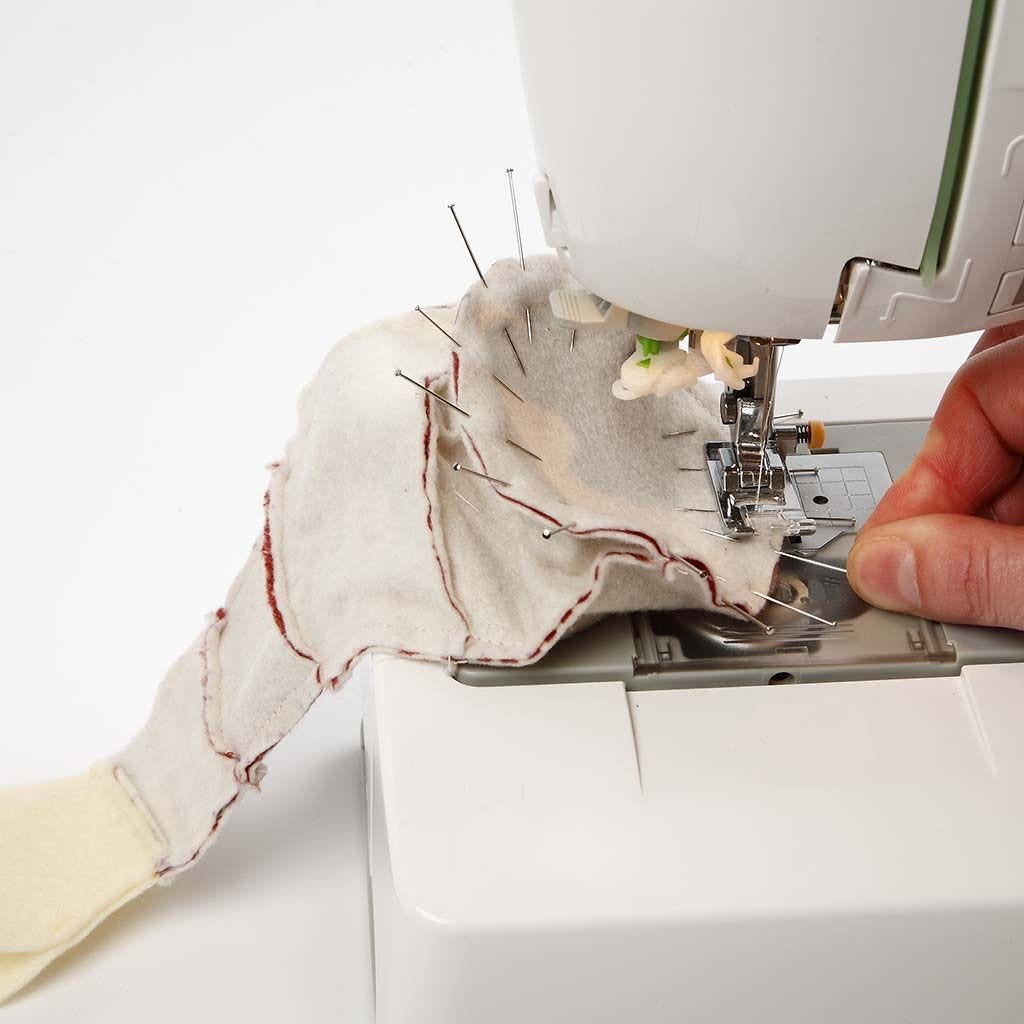
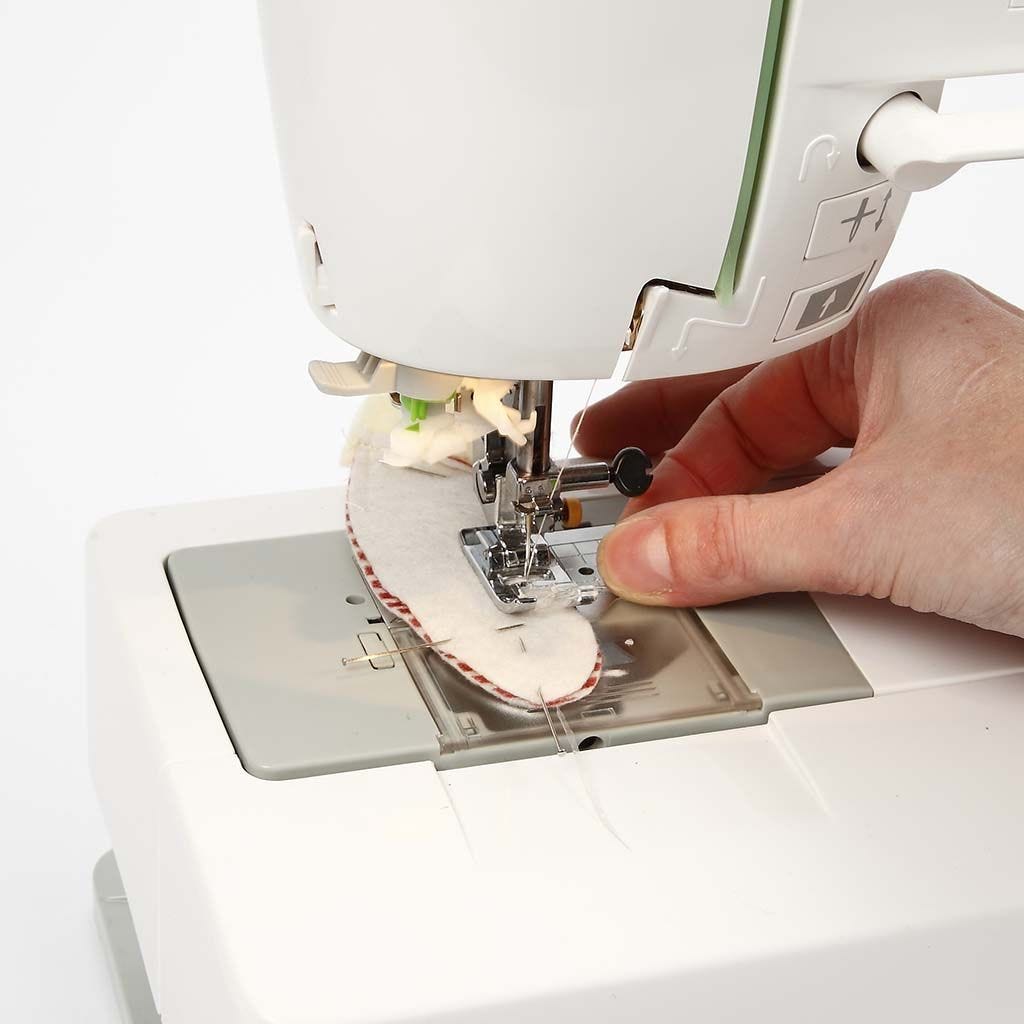
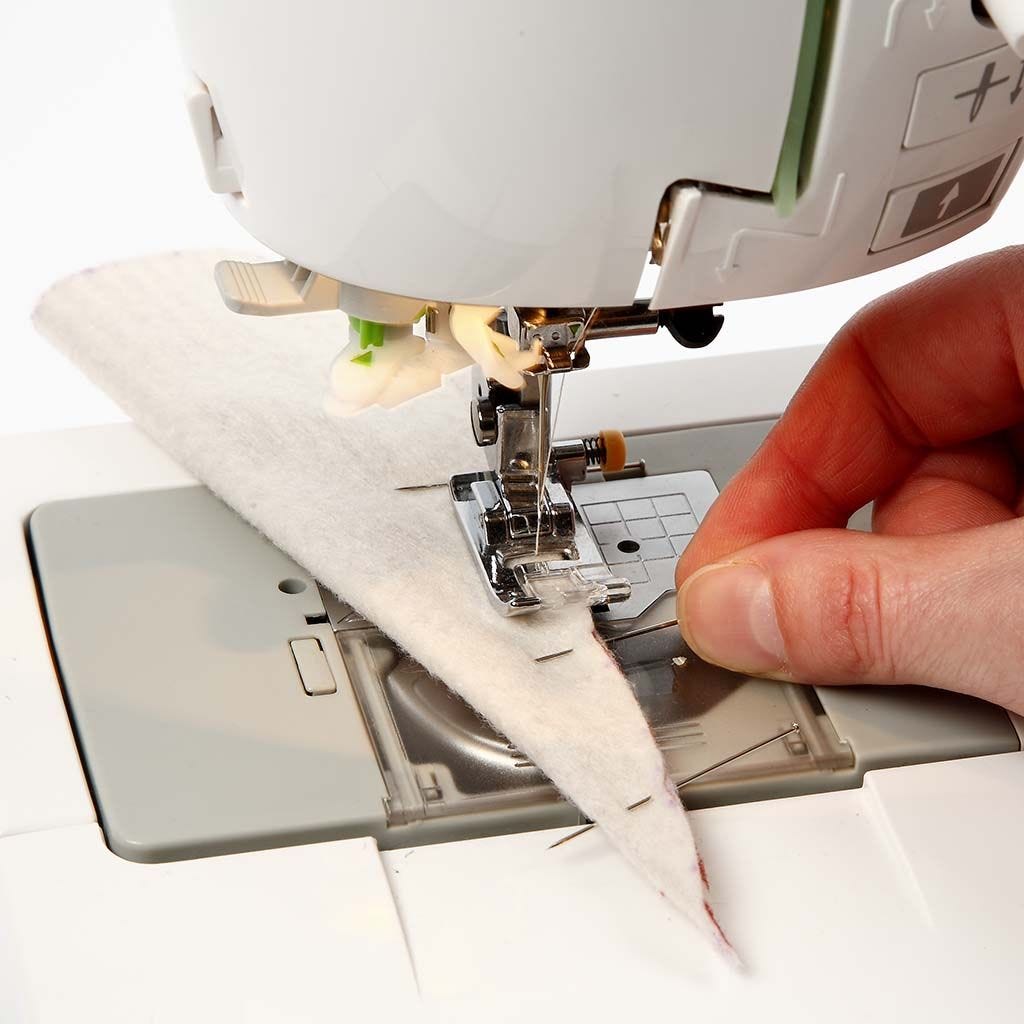
2 Sew the pieces together, front side against front side, so the pixie will have a front and a back.
3 Sew the front and the back of the pixie together, front side against front side. Only sew approx. 2cm up along the head on both sides, as there must be a hole, so the fabric can be turned inside out and for inserting the filling.
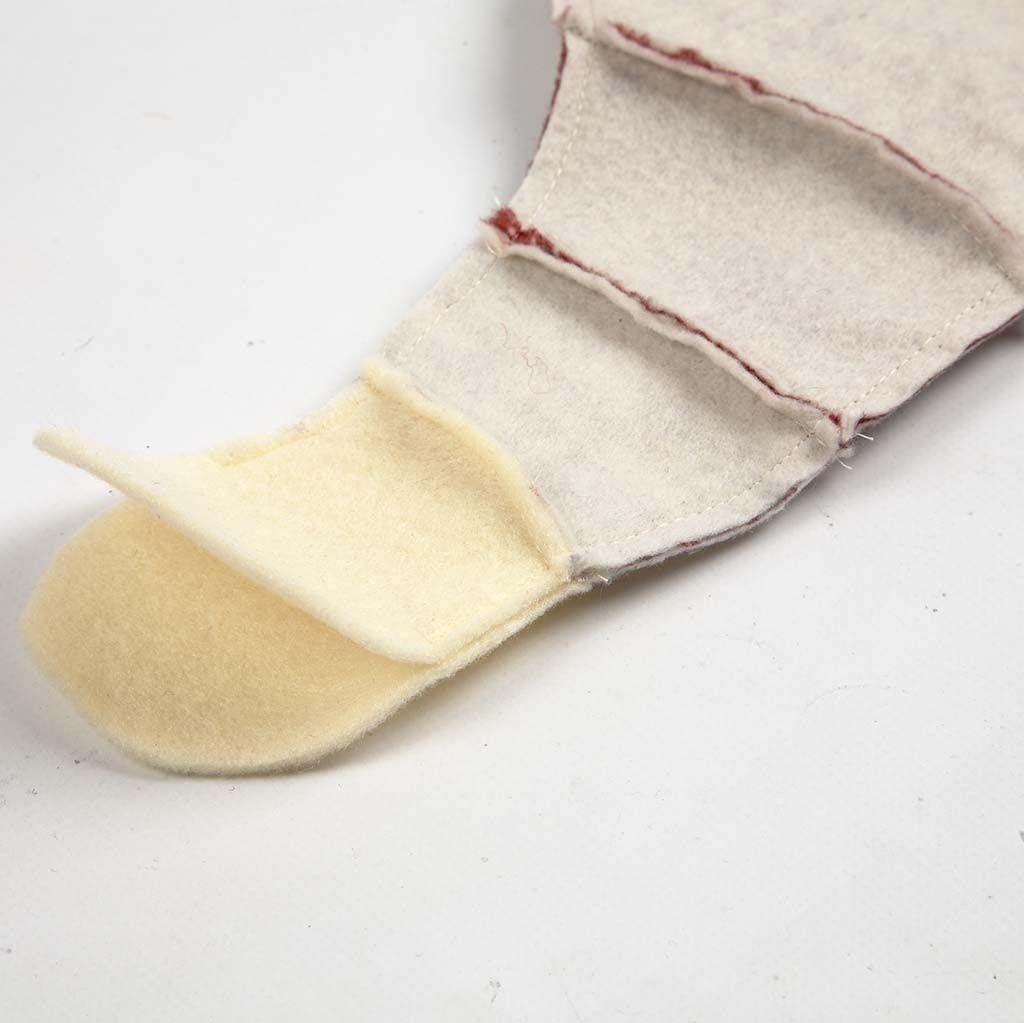
4 Sew in the bottom and then turn the fabric so that the sides are the right way round.
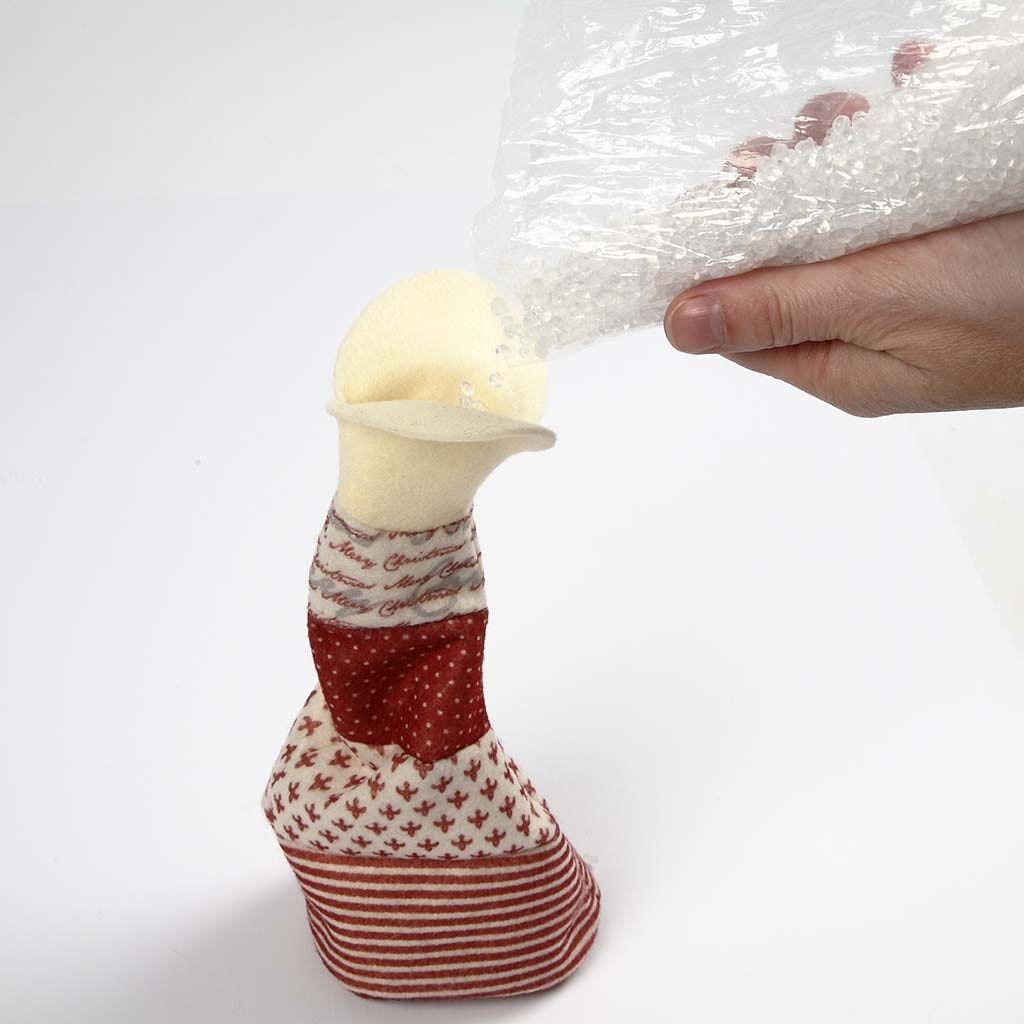
5 Fill the bottom with plastic pellets.
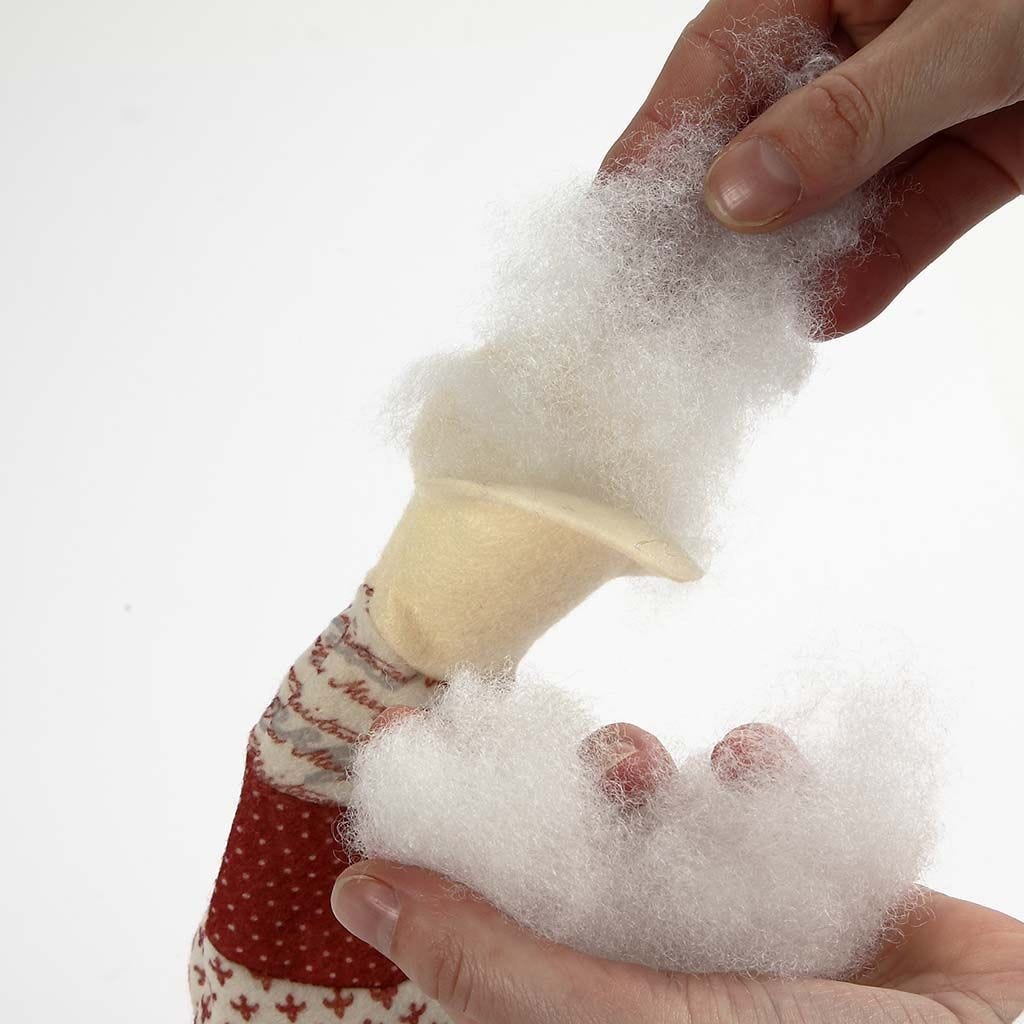
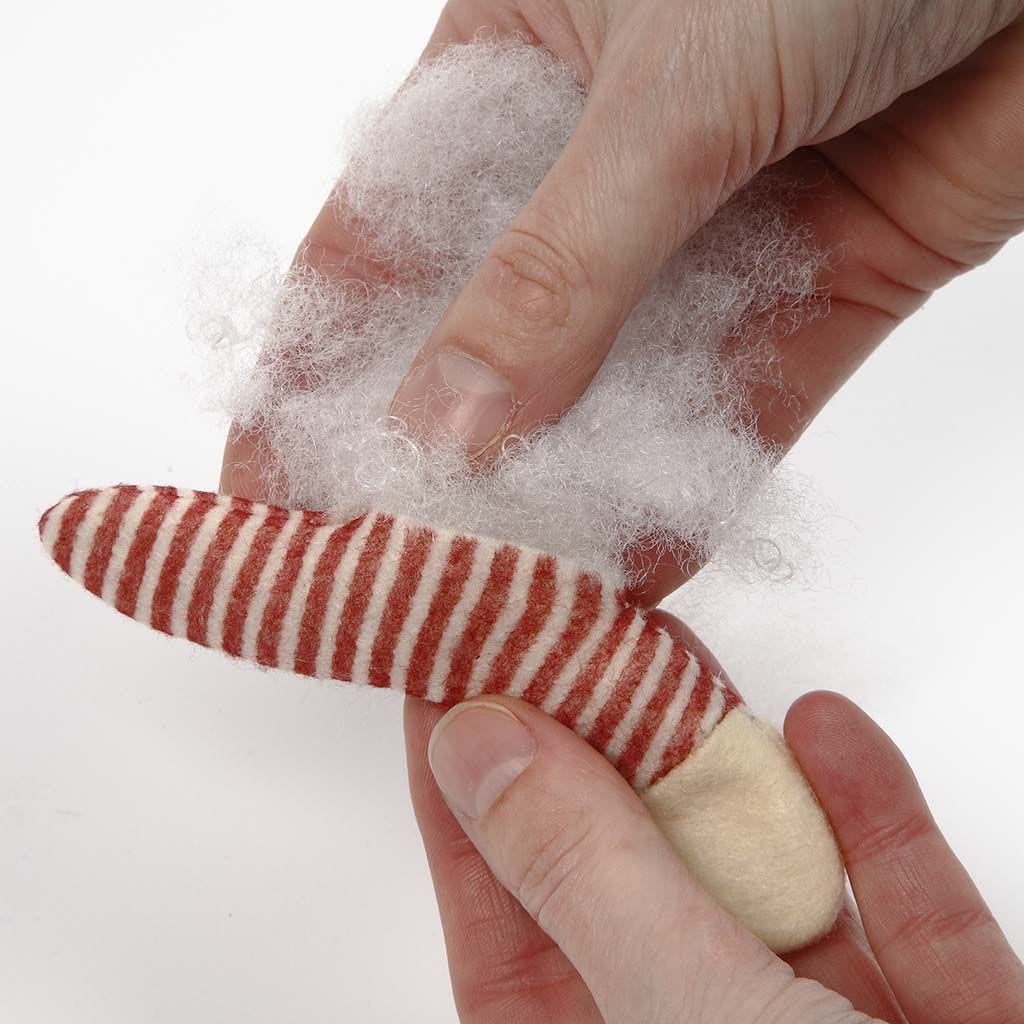
6 Fill the rest of the body with polyester stuffing.
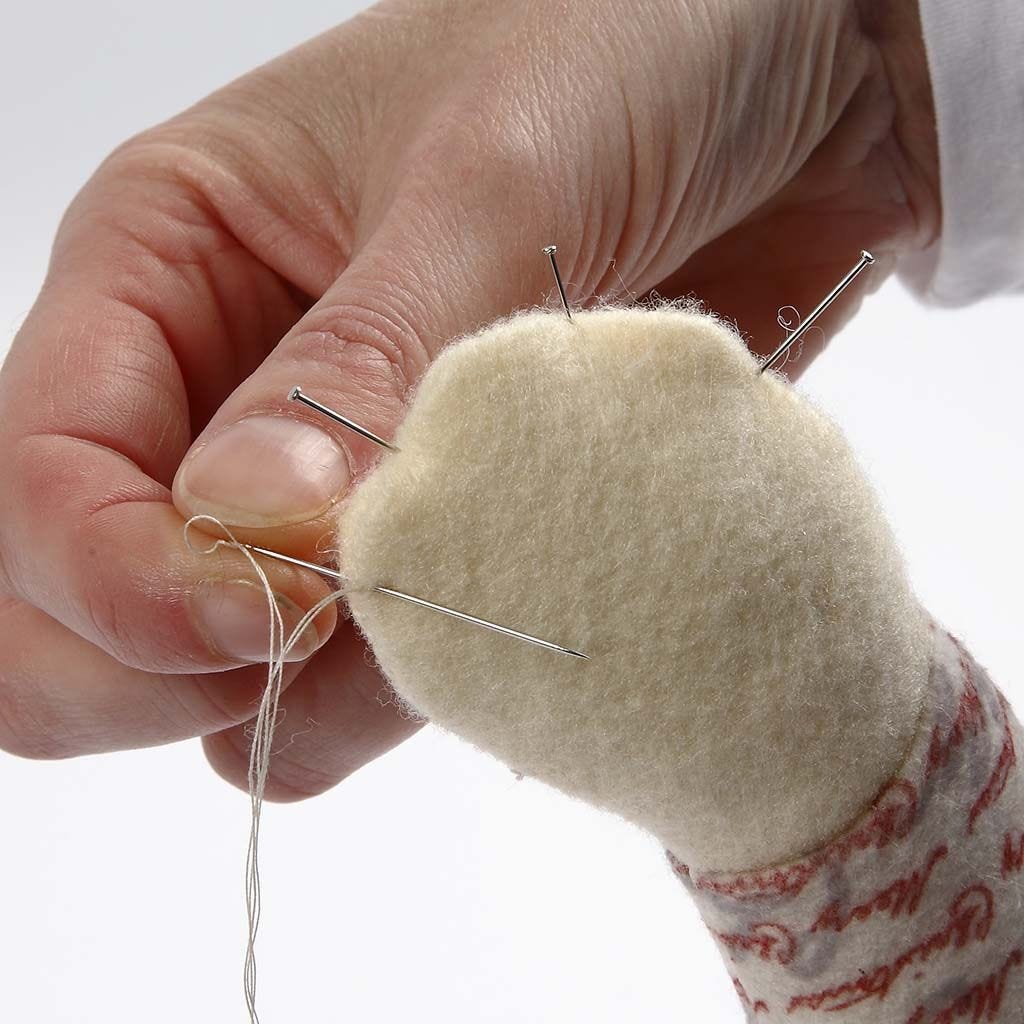
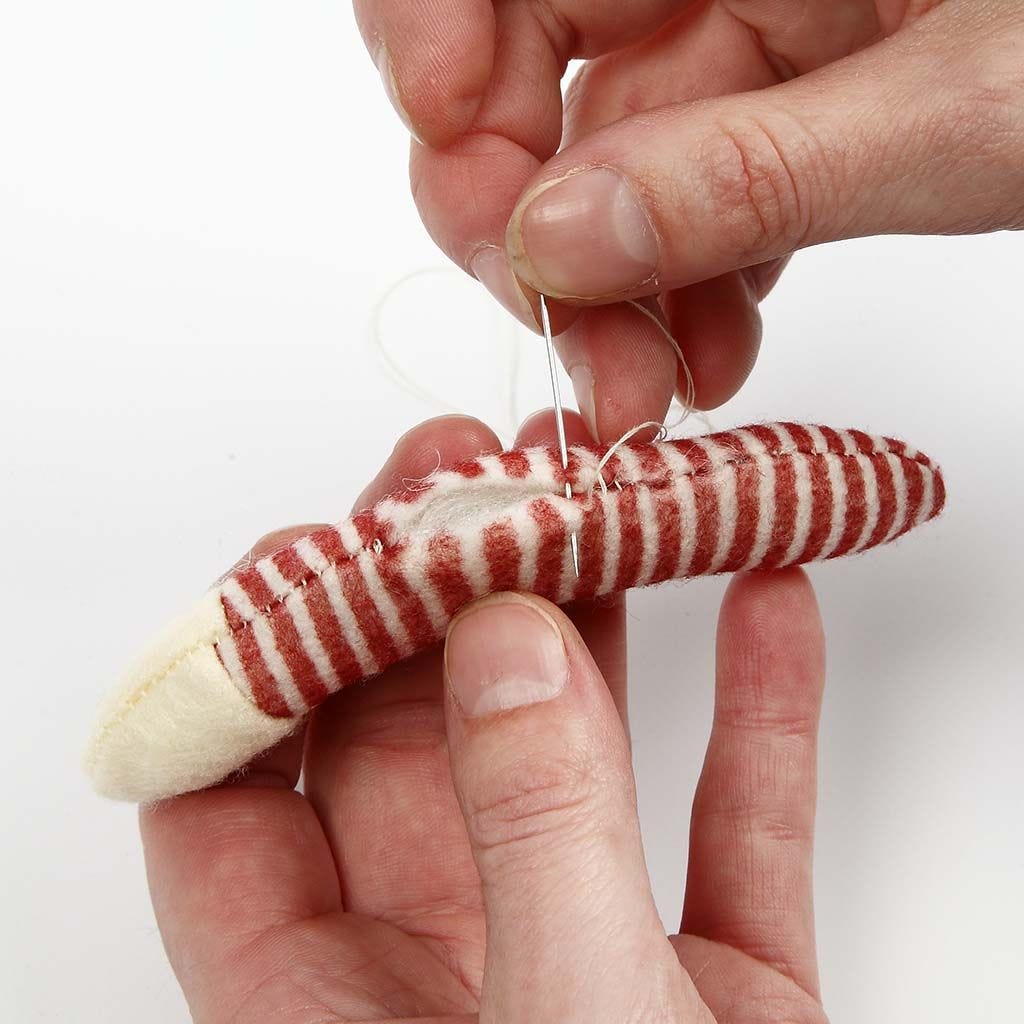
7 Sew the head together using overcast stitches.

8 Measure the circumference for the lace ribbon.

9 Measure the lace ribbon and sew it together by hand.
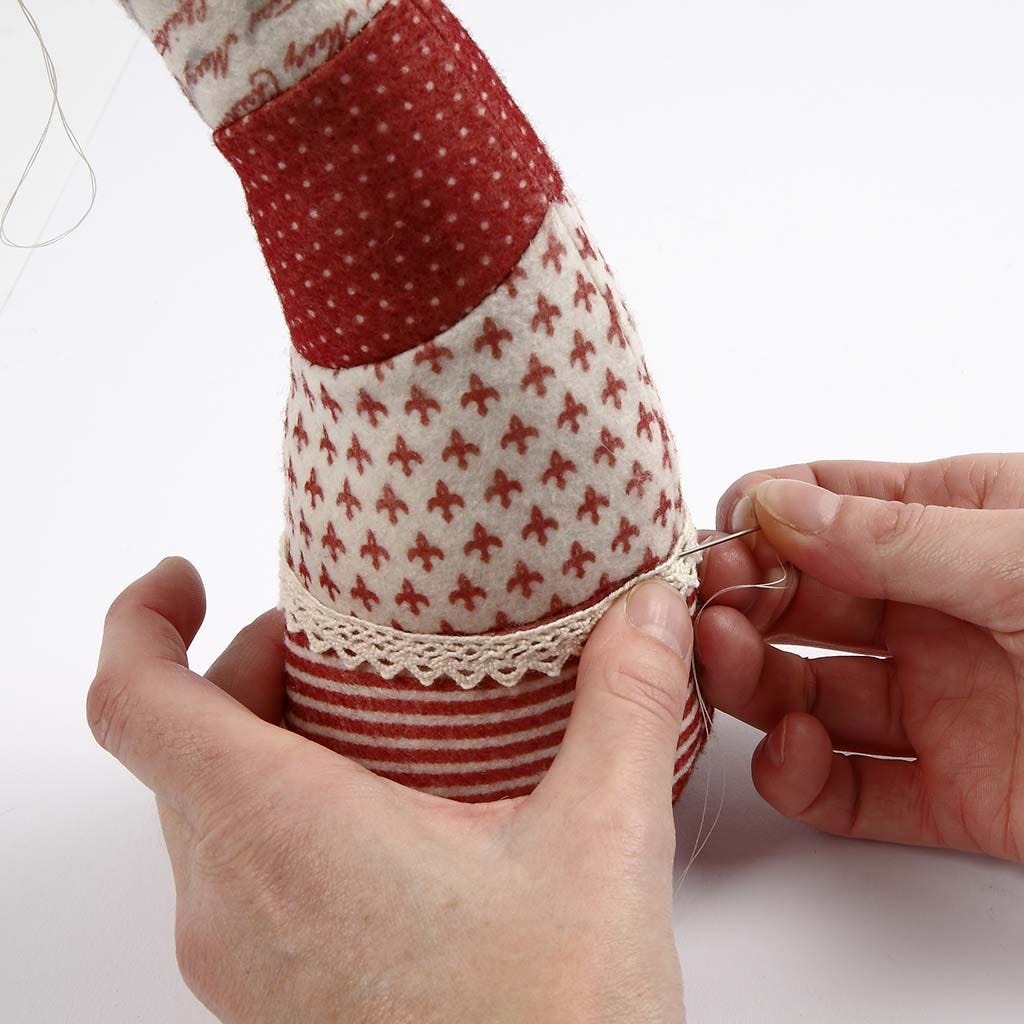
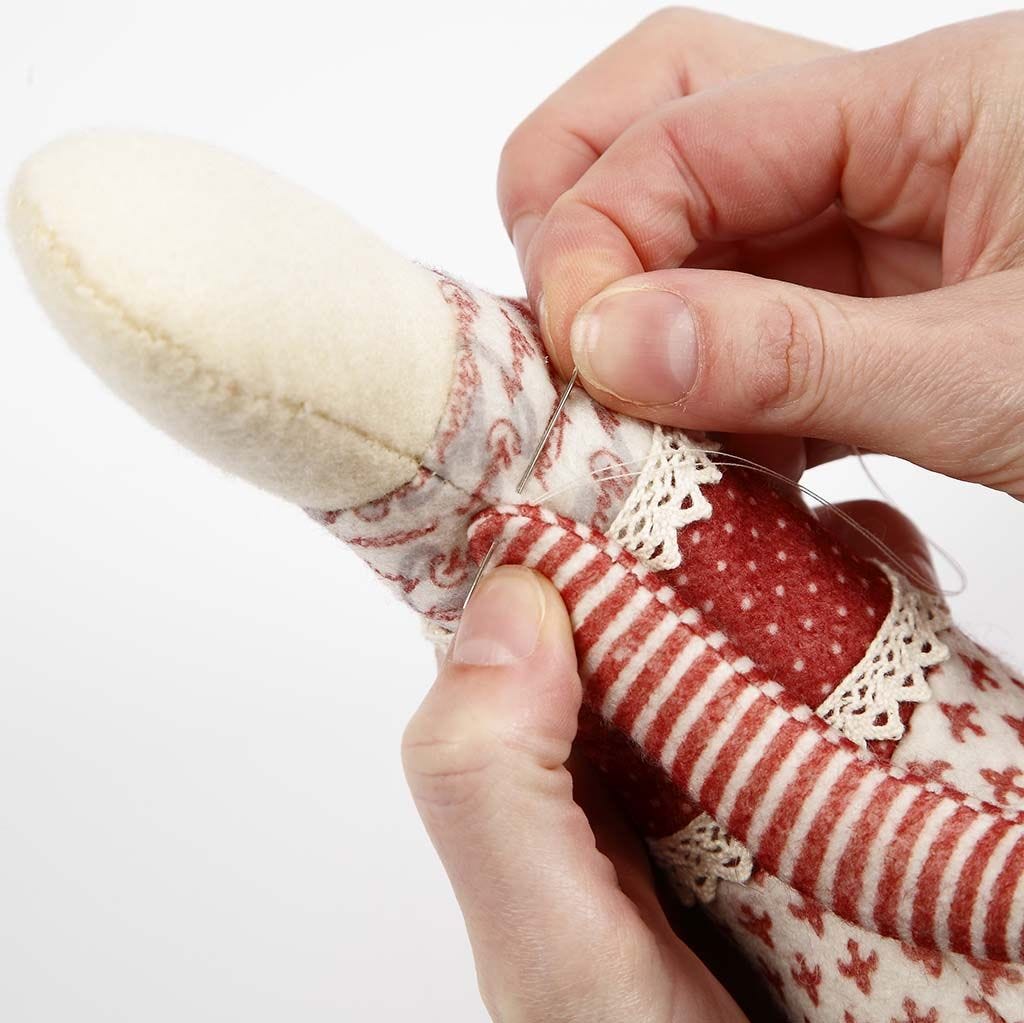
10 Pull the lace ribbon down over the pixie’s body and either glue or sew the lace on in approximately four places, placing the lace at the transition to a new facric colour.
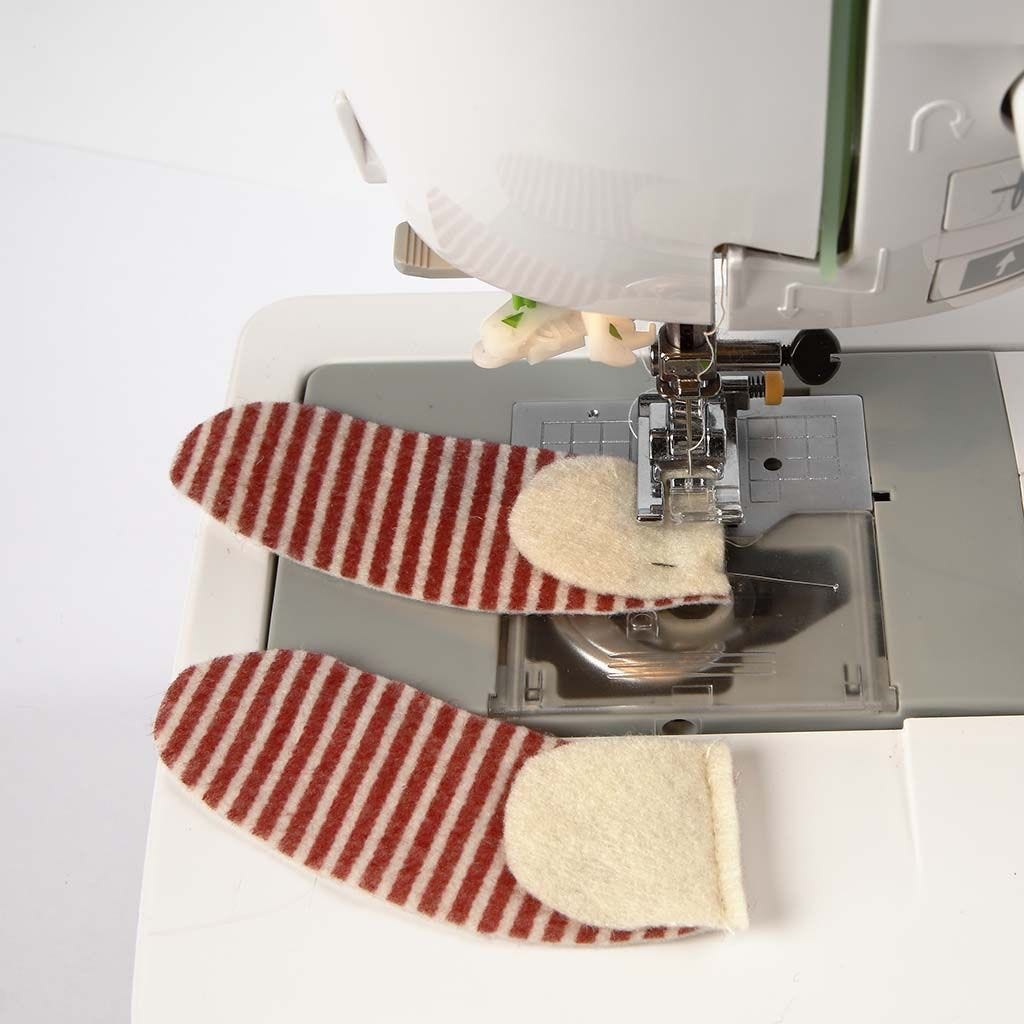
11 Sew the hands onto the arms, outer side against outer side.
12 Sew the arms together, front side against front side, leave approx. 4cm open so you can turn the sleeve.
13 Fill the arms with polyester stuffing.
14 Sew the hole in the arms together using overcast stitches.
15 Sew in the arms approx. 2cm from the neck line.
16 Sew the hat together in the middle in the back.
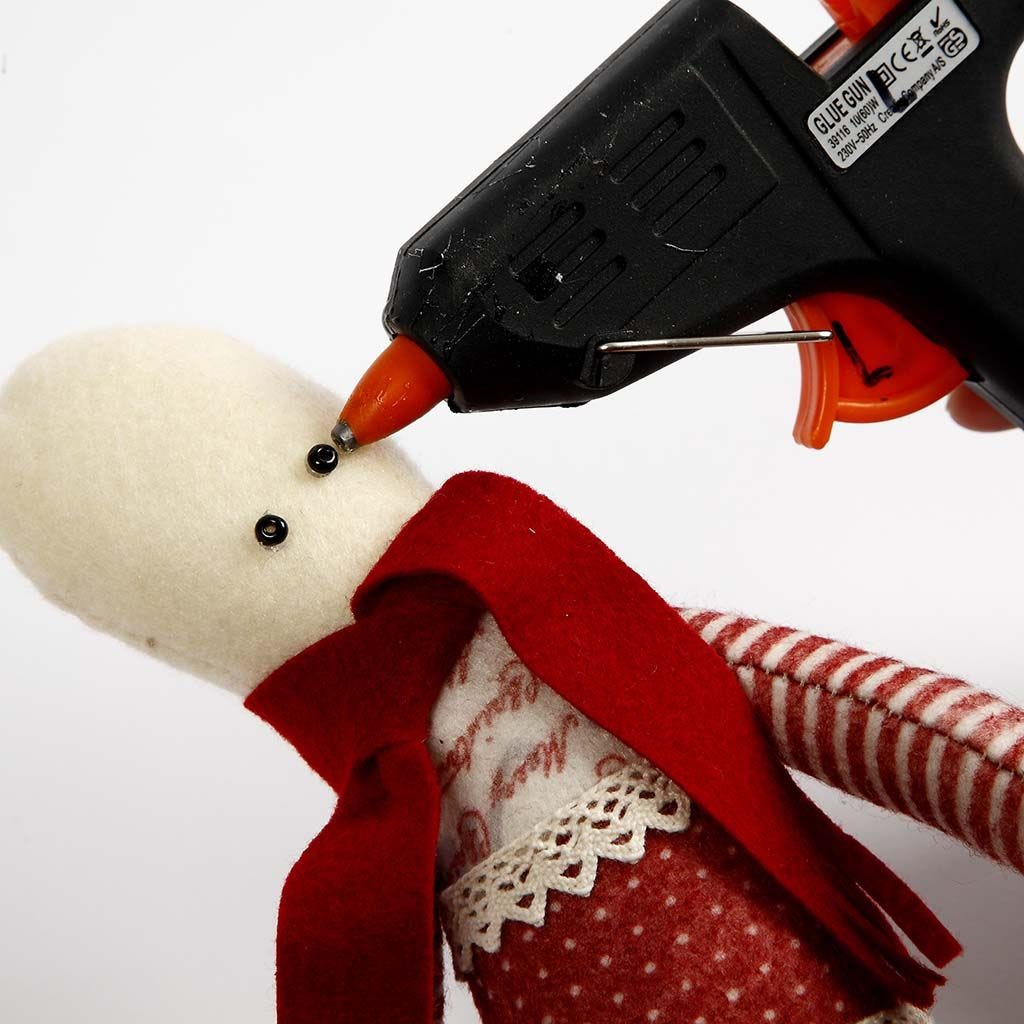
17 Glue or sew on the eyes.

18 Glue or sew on the nose.
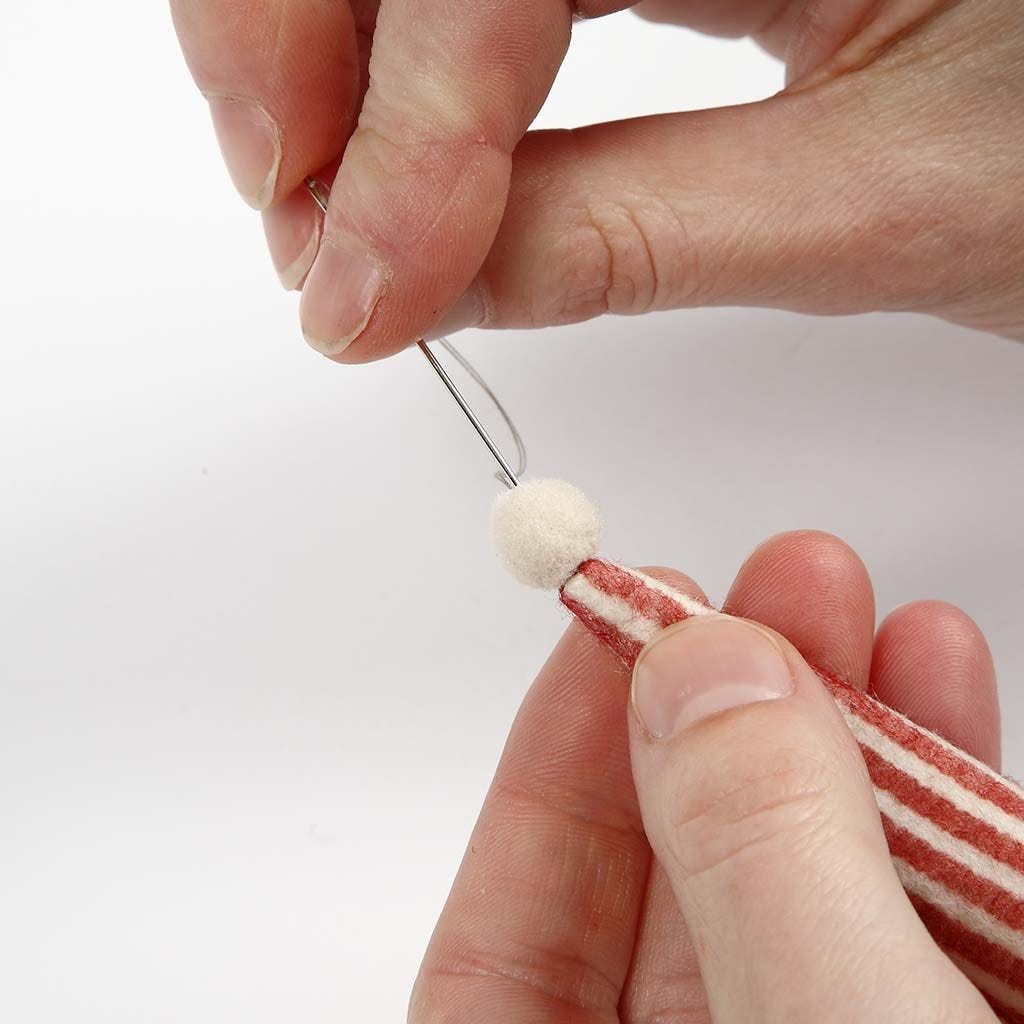
19 Secure a pom-pom to the top of the pixie hat.

20 Cut an appropriate amount of pieces of paper yarn and glue them onto the head.
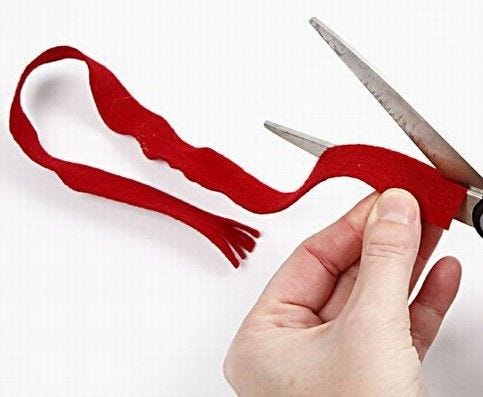
21 Cut a scarf measuring approx. 37cm long and 2cm wide. Cut to make frayed ends.

22 Put the pixie hat on and trim the hair if needed.
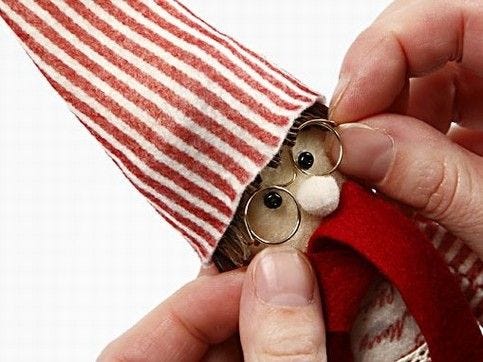
23 Put on the glasses – glue them on if necessary.

También vete a explorar
Otros también han mirado
{{ getVariationsCountLabel() }}
{{ getName() }}
{{ getDescription() }}
#{{ getSku() }}
hacer una idea a partir de {{ getPriceFormatted() }}